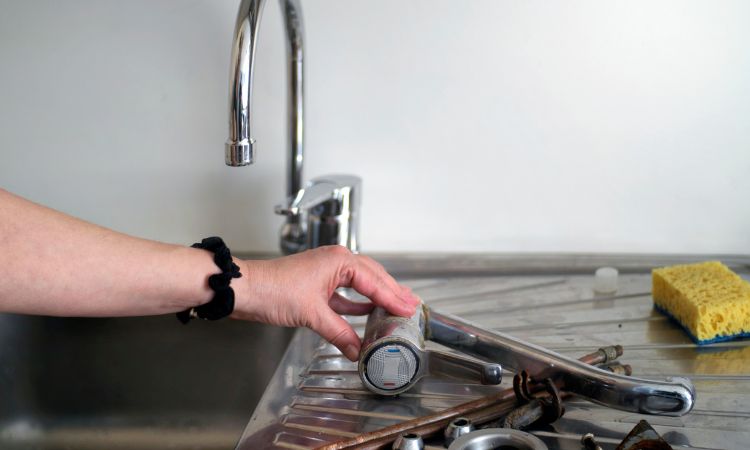
Kitchen taps come in different varieties and shapes. The flow of water in the kitchen taps should be high because these taps are used for washing purposes. Usually, dishes are washed under the kitchen taps. You will have individual requirements for a kitchen sink and have to choose one among the available options.
The compatibility of the sink with the kitchen style is also mandatory. If you have newly built a kitchen and installed the sink now planning to install a tap or you have to replace an old tap, this guide will help you through.
Required Tools:
Let us have a look at the required tools for kitchen tap installation.
- Open-ended and back nut box spanners
- Basin wrench
- Hacksaw
- Pipe cutter
- Compression fittings or check valves
- Tape
- Slotted screwdriver
- Joining compound
Installation Guide:
This section will take you to the step-by-step installation of a kitchen tap.
Turn the Water Supply Off:
The first step to doing any plumbing work in your home is to turn the water supply off. It will not only waste the water but also disturb you during the plumbing work. Locate the isolation valve to turn the water supply of that particular side that you are working on.
Check Out Our Services
If you do not find any independent valve for that side of the supply line, turn off the main water supply. This will make the plumbing process less disturbing.
Check The Equipment:
When a corps goes on to fight, he checks all his weapons, this is not that serious yet so important to have a check at all the necessary tools. Prepare a list of the required tools first and before initiating the process verify the practical existence of all the enlisted tools. Once you have prepared the area, you can proceed to the next step.
Clean the Area:
Clean the sink and the area where your tap is to be installed. you Neither need to hurry nor use any chemicals to clean the sink or the tap area. Just take your time and do it in your style.
Remove The Old Tap If Any:
If you have an old tap installed at your kitchen sink, you will have to follow this step. In case of a new installation, you can skip this step. The removal of an old kitchen tap is less complicated unless you make a mess out of it. Just follow a few steps to do that:
- Loosen the nut that keeps the tap attached to the surface. Make sure the tap does not turn as you are trying to unscrew the nut.
- Grab the tap and secure it into place.
- Detach the tap from the stud to remove it with the flexible hoses.
- Be careful while pulling out the hoses as they can have sharp edges and can damage your hand.
Wrap The Tape In a Clockwise Direction:
Once you are ready to install a kitchen tap, you should first wrap 5 layers of tape on the lower side threads in a clockwise direction. This will help fit the new tap properly.
Set The Deck Plate:
Place the rubber or plastic gasket and set the deck plate on the faucet hole. This is to be done as per the manufacturer’s instructions. The deck plate will hold the tap handle and not let it fall in one direction.
Feed The Faucet Lines:
Feed the faucet lines or tap the handle in the hole. Be careful while doing that because it can fall and get damaged.
The Hardware Underneath The Sink:
The top is almost ready, let us have a look at the hardware underneath the sink. You should affix the hardware underneath the sink. This is done by installing nuts and washers. A caulk or plumber’s putty can also be used.
Set Up The Pull-down Faucet:
It’s time to set up the pull-down faucet by connecting the hose to the supply line. Pull down on the hose and attach the weight. The weight allowed the due clearance to hang underneath the sink.
Connect The Supply Lines:
Connect the supply line to the sink assembly so that the tap could get the water supply.
Screw All The Nuts:
Screw all the nuts carefully and do not leave anything loose as it will start leaking later on.
Turn On The Water Supply:
Now turn the water supply on and check if there are any leaks in the kitsch tap or sink assembly. Hopefully, there won’t be any leakage with proper fulfillment of the instructions.
Conclusion:
Kitchen taps are included in the necessities of the kitchen. If the kitchen tap is to be installed or replaced, you will need to have some basic tools. Using these tools, you can use your plumbing knowledge to install or replace a kitchen tap. This article enlists the required tools and also explains the steps to replace or a new kitchen tap installation.


